(One intermediate revision by one other user not shown)
Line 63:
Line 63:
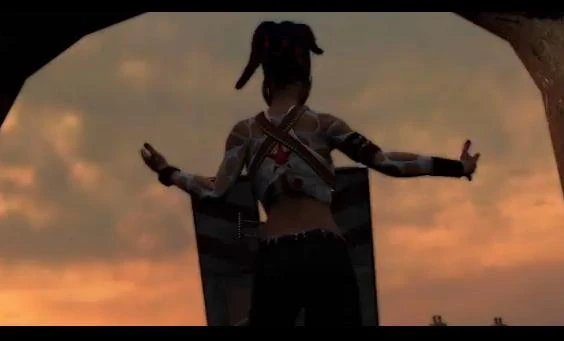
[[File:EOTR_11.jpg|thumb|225px]]Once [[Cole MacGrath|Cole]] and [[John White|John]] make it to the dock where the [[Ray Sphere]] is being kept, [[Cole MacGrath|Cole]] has the choice to activate it or destroy it. This is one of the few options where being bad has a better reward.
[[File:EOTR_11.jpg|thumb|225px]]Once [[Cole MacGrath|Cole]] and [[John White|John]] make it to the dock where the [[Ray Sphere]] is being kept, [[Cole MacGrath|Cole]] has the choice to activate it or destroy it. This is one of the few options where being bad has a better reward.
* '''Good''': Destroy the [[Ray Sphere|Sphere]], causing a vortex that sucks [[John White|John]] in.
* '''Good''': Destroy the [[Ray Sphere|Sphere]], causing a vortex that sucks [[John White|John]] in.
−
* '''Evil''': Activate it, which causes [[John White|John]] to get sucked into the [[Ray Sphere|Sphere]]. You then are granted 1500 XP, stronger attacks, four extra [[Battery Cores|battery cores]], and Cole's electricity becomes black and red . This choice causes you to be permanently stuck at Infamous rank regardless of what your rank was previously.
+
* '''Evil''': Activate it, which causes [[John White|John]] to get sucked into the [[Ray Sphere|Sphere]]. You then are granted 1500 XP, stronger attacks, four extra [[Battery core|battery cores]], and Cole's electricity becomes black and red . This choice causes you to be permanently stuck at Infamous rank regardless of what your rank was previously.
'''Trivia''': Depending on the Player's choice, Cole's response to Kessler's message is different. If the sphere is destroyed, Cole says he loves Empire City and will do anything to protect it. Likewise, if Cole activated the sphere, Cole says he claims every inch of the city as his own and will rid it of the weak.
'''Trivia''': Depending on the Player's choice, Cole's response to Kessler's message is different. If the sphere is destroyed, Cole says he loves Empire City and will do anything to protect it. Likewise, if Cole activated the sphere, Cole says he claims every inch of the city as his own and will rid it of the weak.
Revision as of 05:38, 12 February 2020
Right or wrong, it's my life and I choose how to live it.
― Cole MacGrath
Karmic Moments are moments in the game where the game stops and Cole and Delsin thinks of the possibilities and outcomes of their choices. They are indicated by a red and blue lightning symbol divided by a question mark (See picture to the right) . Each moment will have an outcome that will lower or raise your Karma level. In inFAMOUS 2, though instead of choosing between two things in a mission, Cole now chooses between two entire missions. In InFamous: Second Son the karma choices return but are more grounded.
Once Cole defeats the Reapers attacking Archer Square, he looks over the dropped provisions. Afterwards, Cole has to choose between:
Good: Letting the crowd take the food.
Evil: Shoot the water underneath the crowd (or the crowd itself) to make them flee.
The end result is either Trish thanking Cole or scolding him.
Trivia
Discharging your electricity at all will result in an Evil Karma, even if you do not hit anyone.
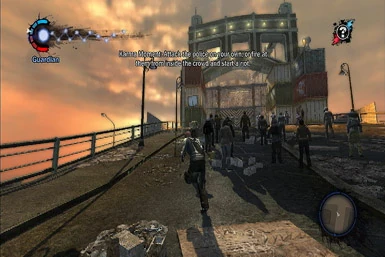
Riot
After Cole and Zeke make it to Stampton Bridge, they find a mob of people protesting to be let out of the quarantine. There are several armed riot police. From here you can:
Good: Face the riot police yourself. This will lead to less innocent lives being lost.
Evil: Shoot a policeman or shoot the inside of the crowd from inside/outside the crowd. This will cause a mass riot with loss of life from the crowd.
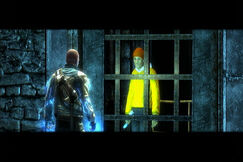
Open The Door
On the story mission, Blood Trail, when Cole finds Brandon in the sewer after chasing the echo of him, he asks him to open the door to access the generator of the sewers, but is too afraid and refuses to do it. Cole's choices are:
Good: Tell Brandon that his wife is dead, and that Cole promises to take out every reaper on the Neon. That then convinces him to open the door.
Evil: Shock the door apart which also kills Brandon in the process of opening the door.
The Rescue
This is automatically unlocked after completion of "The Rescue" mission. There is no choice here, rather it plays a different clip depending on your Karma.
Good: If the player's Karma is good, the crowd will cheer Cole and thank him for rescuing the people. He describes the crowd as hypocrites, however, he admits it is nice to finally feel accepted instead of being called off.
Evil: If the player's Karma is bad, the crowd will boo and attempt to attack and stone Cole. He shocks and kills a person, causing the rest to flee considering them ungrateful after he just saved their families.
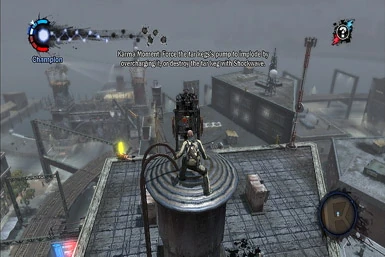
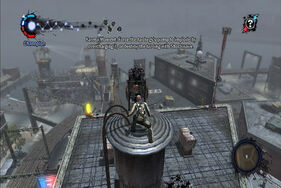
Tar kegs
During missions such as Dark Water, Cole can destroy or overload the tar kegs. Destroying them causes him to temporarily hallucinate. Overloading them leaks excess tar into the water main, poisoning more people.
Good: The player can destroy the Kegs using a Electromagnetic Shockwave at close range Splashing the tar onto himself causing temporary hallucinations but stops the tar from entering the water supply.
Evil: The Player can overload the Kegs from a distance using lightning bolts but in the process causing them to dump their payload into the water supply.
Trivia
If you angle yourself correctly and use the Electromagnetic Shockwave on the tar keg, you will both destroy it and not have any tar on you.
Exposure
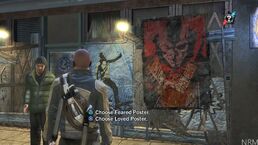
When Cole is chasing the ghost of the Dust Man Conduit in "Zeke's Request" you will run into a man making posters of Cole. He will ask you which you like to which you can respond:
Good: Pick the good picture of Cole, which is him in a clean, crime free city. Cole is holding a lightning bolt (like the Greek god Zeus, who also controlled electricity) with people cheering him.
Evil: Pick the destructive picture of Cole, which is a giant picture of him with half his face as a skull overlooking a destroyed Empire City.
Them Or Me?
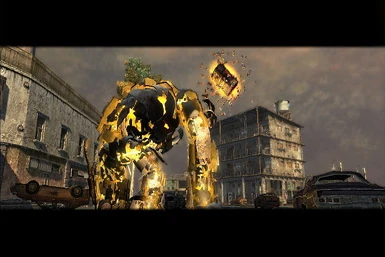
At the end of the mission Secrets Revealed, a Golem Conduit is going to throw the gas tank of a helicopter at Cole. The catch is that a bunch of wounded pedestrians are in range of the detonation, at the Golem's feet. You can:
Good: Let the Golem sling the tank at you. This saves the wounded people, but will seriously harm you and your speed.
Evil: Shoot the tank. This will rip off the Golem's arm, and make the fight easier for you. But it will also kill the pedestrians.
Trivia: If the player has the rank of hero, the golem will throw the tank as soon as the player regains control, making it impossible to destroy the tank.
If the player has the rank of Infamous, the golem will take approximately 2.5 seconds longer to throw the tank.
Trish, hanging from one roof.
Intentions
When Kessler tells Cole that Trish has been kidnapped he tells him that he has to make a choice. One roof holds Trish, another roof holds six doctors. The doctors could save countless lives, while Trish is what Cole cherishes most.
6 doctors, hanging from another.
Good: Thinking for the greater good, Cole rescues the doctors. Trish then falls to her death.
Evil: Thinking only of himself, Cole attempts to rescue Trish. What Cole doesn't know is that Kessler actually disguised her as one of the six doctors. She then falls to her death.
Either way, Trish dies. If the player's Karma is good, Trish tells Cole how proud she was that he was using his powers for good, and dies telling him that she loves him. If the player's Karma is evil, she tells how much she hates Cole, and says that "God gave you these powers, and you squandered them."
The Sphere
Once Cole and John make it to the dock where the Ray Sphere is being kept, Cole has the choice to activate it or destroy it. This is one of the few options where being bad has a better reward.
Good: Destroy the Sphere, causing a vortex that sucks John in.
Evil: Activate it, which causes John to get sucked into the Sphere. You then are granted 1500 XP, stronger attacks, four extra battery cores, and Cole's electricity becomes black and red . This choice causes you to be permanently stuck at Infamous rank regardless of what your rank was previously.
Trivia: Depending on the Player's choice, Cole's response to Kessler's message is different. If the sphere is destroyed, Cole says he loves Empire City and will do anything to protect it. Likewise, if Cole activated the sphere, Cole says he claims every inch of the city as his own and will rid it of the weak.
If the player wishes to keep the ability to switch Karma for the rest of the game, the good choice must be chosen, even if playing on Evil. The evil option should be picked only if the player has no problem being stuck in Infamous rank.
Other Karma Choices
There are also other choices that do not affect the story line. These include:
Public Hanging: Angry citizens have tied another person to a street light for stealing food. You can cut the person down (Good), or leave him to die (Evil).
Blast Shard Payment: Several side missions revolve around pedestrians that have Blast Shards they will give to Cole if he does something for them. You can do their bidding and earn the shards peacefully (Good), or kill the pedestrian (or in some cases, police officers) and steal the shards (Evil).
Infamous 2
The Karma system returns in Infamous 2, with a tweaked system to remove 'the hammer-blow' Karma moments, so there's a much more subtler version.
Swamp village
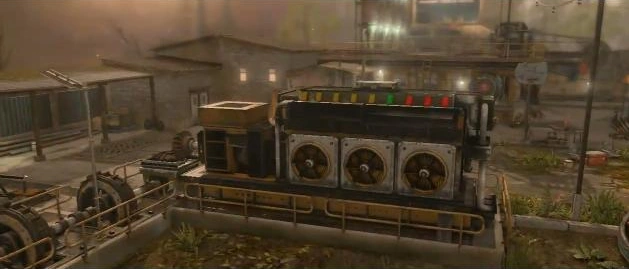
The generator.
While Cole is making his way to New Marais through the swamp, he comes to a villiage in the swamp that the Militia are using as a base. You have to lower a bridge by powering up the generator. Kuo says that if you overcharge it you can blow up the villiage. Cole sees it would also kill all the Militia in the villiage too. You can:
Good: Charge the generator just enough for the bridge to lower.
Evil: Overcharge the generator to blow up the village, taking down many Militia but also all the innocent people.
Tough Critic
Cole guards the prisoner.
At some point during his time in Ville Cochon, Cole is approached by a police officer who tells Cole that his Militia prisoner is causing him problems and asks Cole to watch the prisoner while he gets some backup. Cole stands watch over the Milita member who begins insulting the Conduit. Nix calls Cole, and declares that the prisoner's "a waste of skin" and asks "What if he escapes again?". Coaxing him, Nix tells Cole to kill the Militia member, adding that Cole can say he was trying to escape.
Good: Cole keeps it cool, and the police officer returns with several of his colleagues. He thanks Cole for his assistance.
Evil: Having had enough of the prisoner and his abuse, Cole kills him on the spot. When the police return they berate Cole and attack him. MacGrath quickly deals with them before leaving the scene of the crime.
Rescue Kuo
During the mission Torn, Cole confronts Zeke and Nix on a plan to rescue Kuo from a Militia Base. Zeke suggests that you free cops that the Militia were holding up to aid you in the battle, while Nix suggests that Cole rams a rigged streetcar into the base, causing a huge explosion that takes out many Militia, but also the innocent people at the base. Cole can:
Good: Go with Zeke's plan, freeing the cops the Militia were parading around, and attacking the base.
Evil: Go with Nix's plan, ramming an explosive-rigged streetcar into the base, incinerating many innocent people the Militia were holding there, but also take down many Militia guards. Nix will also aid Cole for the rest of the battle, which makes it very easy.
Rebel Back-up
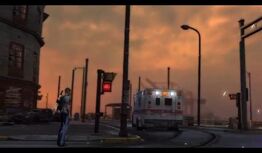
Cole, following Kuo's plan.
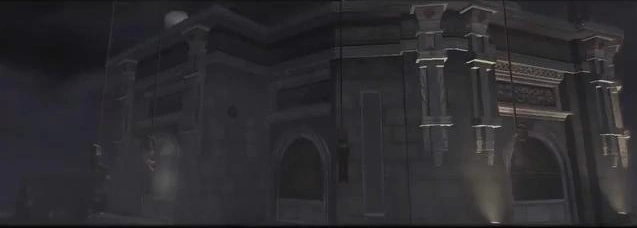
Just before Cole makes his assault on Fort Philippe to obtain the power transfer device he is tasked with obtaining support from the local rebels to serve as back up for the assault. Kuo suggests that Cole steals an ambulance filled with medical supplies from the Militia and deliver it to the rebels. Nix suggests that she dresses up in a Militia uniform and use a gun mount in the fort to fake an attack on the rebels by the Milita. This makes it seem like Cole is saving the rebels from the "Milita" just when they need it. Cole can:
Nix's at the turret, after Cole accepts her plan.
Good: Go with Kuo's plan, bringing medical supplies to Laroche's hideout, only to realize he was keeping it as a secret and that the Militia were following Kuo and Cole. After Kuo, Cole and the rebels fight off the Militia, Laroche accepts to join Kuo and Cole since his hideout is now discovered and the Militia might attack any second, so they need the fort.
Evil: Go with Nix's plan. After Cole fries the communication hubs at Fort Philippe, Nix attacks the rebels using a mounted gun. After the real Militia arrive to attack the rebels, Cole rescues the rebels by destroying the turret and killing the Militia. Laroche then accepts to join Cole in the battle.
Power Transfer Device
After Cole retrieves the Power Transfer Device, Nix and Cole decide to swap powers, only for Kuo to say that if Cole will swap powers with anyone, it needs to be her. Cole can:
Good: Choose Kuo, gaining him Cryokinetic powers and, in the process, getting Nix to dump Cole.
Evil: Choose Nix, gaining him Napalm powers and, in the process, for Kuo to later tell Cole that it's only business now.
Rail Yard Intel
While Cole MacGrath tests out his Rockets from the newly absorbed Blast Shard, Nix drops by the train car that Zeke Dunbar and Lucy Kuo are making plans in, causing Kuo to call Cole back to the train car. There she briefs Nix, Zeke, and Cole on how Bertrand continues to venture to the Rail Yard, despite there being a large number of Ice Men patrolling the area. Nix claims that Bertrand is able to make monsters that are loyal to him, and states that she even made one loyal herself, but it died at the hands of the Militia. Kuo then states that the best way to proceed would be for Cole and her to collect evidence that Bertrand is making the monsters and turn the public tide against him. Nix disagrees, saying that instead Cole should guard Nix as she bonds with the monsters to create their own personal army.
Good: Cole heads out to the train yards and takes several pictures of civilians and corrupted locked in boxcars, and eventually a picture of Bertrand turning a human into a corrupted, finally exposing Bertrand as Kuo puts the evidence on TV.
Evil: Nix and Cole meet on the roof, where they discuss the plan a bit more. They then head out to clear out all the militia on the roof. Cole has to defend Nix from the Militia and the Ice Gang with the Tesla Missile while she trains a batch of Corrupted.
Blast Shard Bomber
The Blast Shard Bomber with his captives.
At some point during Cole's time in Gas Works, the Blast Shard Bomber contacts Zeke and decides to give himself up. Once Cole reaches the meeting point, the bomber reveals it to be a trap, causing a huge explosion that critically injures Cole. Once he recovers, Cole chases after him. Once Cole finally catches up to the bomber, he surrounds himself in pedestrians, telling Cole that if he takes another step, he will blow himself and the pedestrians up. Cole can:
Good: Defuse the bomb by draining it, securing all the innocent people. If the player decided to arc restrain the bomber, he will grief and scream about how no matter how much he tries, he can't kill Cole.
Evil: Attack the bomber, causing a huge explosion that incinerates all the innocent people.
The Final Decision
In the final mission of the game, Cole, Nix, Zeke, and Kuo meet up to discuss what to do regarding defeating the Beast and curing the plague. Kuo agrees with John White's (the Beast) plan to activate as many Conduits as possible before the plague kills them, while Nix and Zeke go with the plan to activate the RFI, which will cure the plague, but kill every Conduit on the planet, including Cole himself. Depending on Cole's Karmic alignment, he can fulfill his destiny and either sacrifice himself to save Humanity or betray Humanity in order to save himself.
Other Karma Choices
While exploring New Marais, sudden events will appear on the map.
Good: Cole can stop certain events to get Good Karma. Cole can...
Stop muggings
Deactivate bombs
Heal victims
Stop the Militia from kidnapping citizens.
On occasion, Kuo will contact Cole to praise him for helping others.
Evil: Cole can do bad to gain negative Karma, such as...
Steal blast shards
Attacking innocents, especially...
Protesters
Police
Street performers
Activate bombs.
If Cole does bad things, Nix will call to tell to keep using his powers to terrorize the people.
Infamous: Second Son
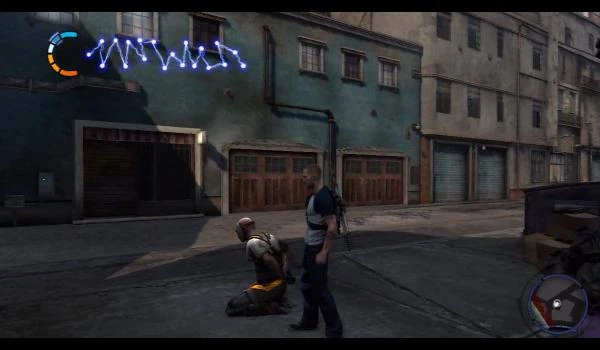
The Karma system is updated and gives a description of each outcome before deciding. Additionally, much like before Good and Evil Karma side missions are given randomly once in Seattle.
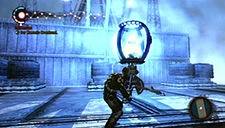
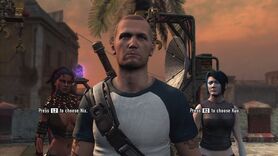
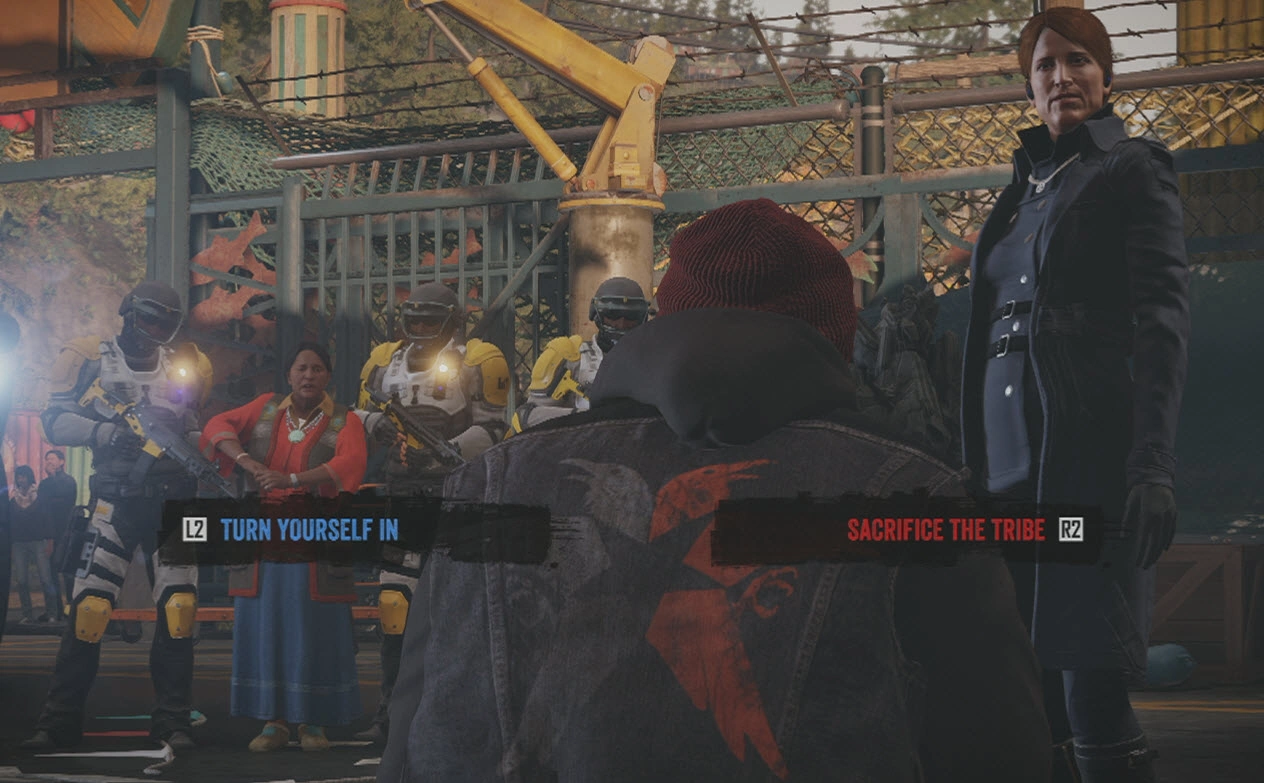
The first Karmic Moment in Infamous: Second Son.
Who to protect?
After the capture of Hank Daughtry, Brooke Augustine realizes that there is something Delsin Rowe isn't telling her. Stabbing a chunk of Concrete into Delsin's leg, she demands to know how he was able to fight Hank.
Good (Turn Yourself In): Delsin admits to being a conduit, claiming that he 'caught the bug' from Hank. Not believing his story, Augustine knocks him out for a week and turns her attention to the rest of the Akomish. Once Delsin awakes, Betty informs him that no one talked, and says "Akomish look out for their own."
Evil (Sacrifice the Tribe): Delsin keeps quiet about being a conduit, resulting in Augustine knocking out anyway. And instead decides to focus her attention on the rest of the Akomish. When Delsin awakes a week later he is scolded by Betty for hanging out the rest of the tribe to dry.
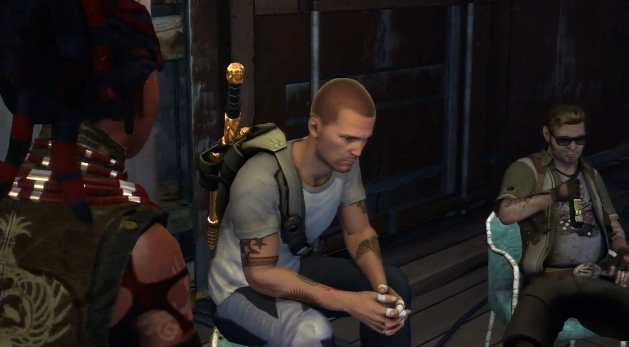
After hunting down a "Conduit Serial Killer" named Abigail Walker, Delsin gets into a argument with his brother Reggie Rowe over what they should do with her. Delsin wants to recruit her to help fight the D.U.P., whereas Reggie wants to arrest her for the murders she committed.
Good (Redeem Abigail): Delsin points out that Abigail is only doing to the drug dealers what they've been doing to the D.U.P. and convinces a skeptical Reggie to release her into his custody. Delsin and Abigail team up to wipe out the drug dealers down at the docks: Cutting off their revenue stream, Delsin also convinces Abigail to take a less lethal route in her methods, taking down and restraining the drug dealers instead of killing them outright.
Evil (Corrupt Abigail): Delsin overpowers his brother, informing him that he, and he alone, will be making decisions about Conduits. Delsin and Abigail subsequently rampage against a group of anti-Conduit protesters, wiping them out in the process, and expanding Abigail's list of targets and increasing her blood lust in the process.
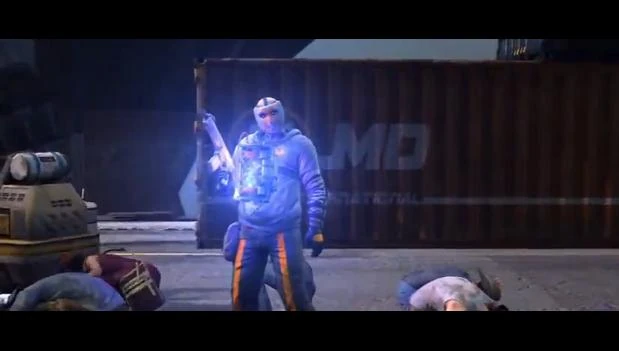
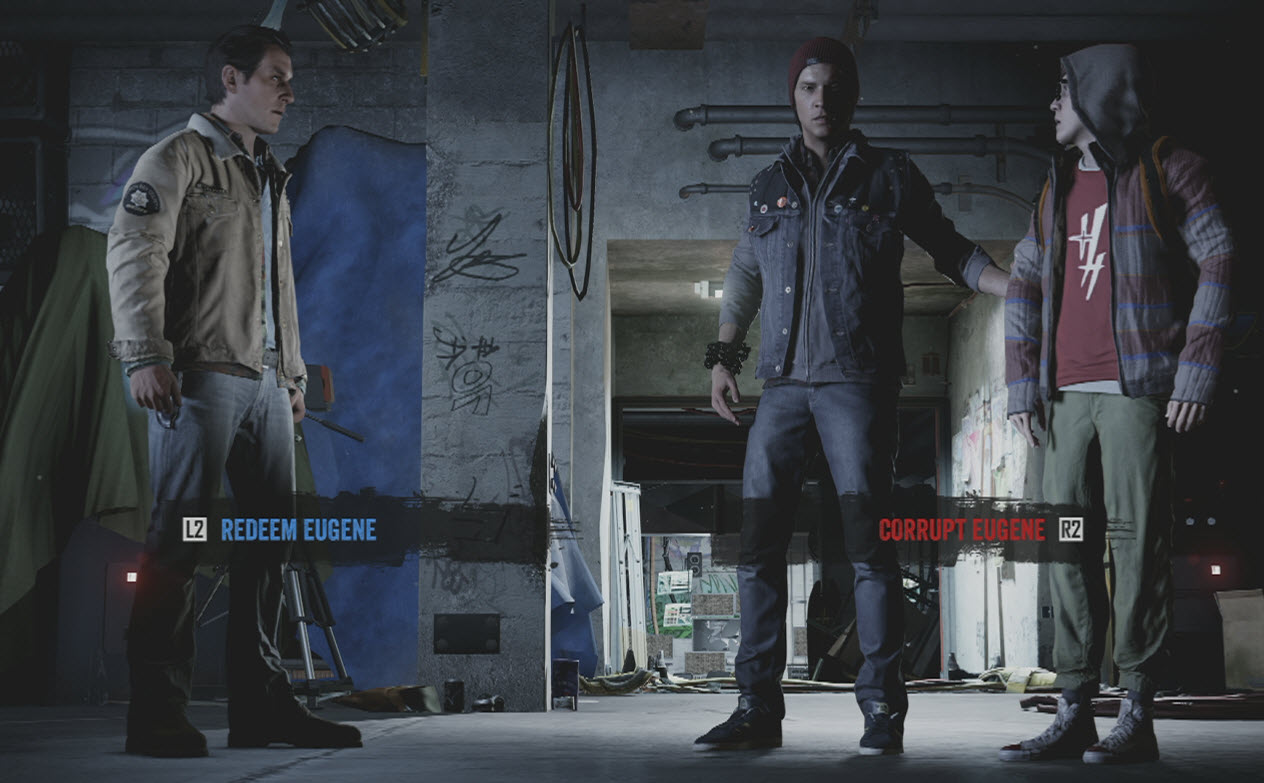
After defeating the leader of the Angel like creatures scooping the D.U.P.'s escaped prisoners off the streets named Eugene Sims, Delsin enters another standoff with his brother: Reggie wants to arrest Eugene for the people he's been kidnapping though as Eugene explains he's only been helping people out of their restraints. Delsin convinces Reggie that Eugene has committed no crime and lets him go.
Good (Redeem Eugene): The two conduits subsequently team up to rescue all of the D.U.P.'s former prisoners from the gangs that have been rounding them up to sell them back to the D.U.P. building Eugene's courage and confidence to the point that he's able to manifest his, "He Who Dwells" form in the real world.
Evil (Corrupt Eugene): Eugene suggests that the Two Conduits team up to find the gangs that were attacking the conduits and "kick the shit out of them" and teach them to respect them, even if it kills them. Eugene progressively becomes bolder as they go on, eventually declaring that Seattle belongs to conduits, and they shall show their enemies no mercy.
After the death of Reggie Rowe thanks to Hank Daughtry's betrayal, Delsin proceeds to hunt him down. After a brutal fight at the marina, Hank reveals that the D.U.P. had his daughter hostage and unless he cooperated she would have been killed.
Good (Spare Hank): Delsin spares Hank's life. He offers Delsin the chance to disappear with him and his daughter. However, he rejects the offer telling him to stay safe as he walks away.
Evil (Kill Hank): Delsin decides to kill Hank, and angrily tells him "Eye for an eye, asshole." and then strangles Hank to death with his chain, leaving his daughter to fend for herself.
Before Delsin can break into the D.U.P. headquarters, he must first decide what he's going to do with Augustine.
Good (Expose Augustine): Delsin decides to capture Augustine alive and expose her crimes to the world. Once Augustine is brought to the authorities the exposure of the D.U.P.'s crimes kicks off a new age of peace between man and Conduit, freeing all of Augustine's prisoners and achieving peace at last.
Evil (Kill Augustine): Delsin decides to kill Augustine and avenge the death of his brother. After encasing Augustine in cement Delsin drags her to the top of the D.U.P. headquarters and drops her off the roof. Delsin plans to invade Curdun Cay to absorb the powers of every one of the D.U.P.'s prisoners, but he needs to go heal the Akomish tribe. However, Betty disowns Delsin saying that his killing of innocents has brought shame upon the tribe and the memory of his brother. After being rejected by the tribe, Delsin performs an Orbital Drop on the building, killing the occupants inside.
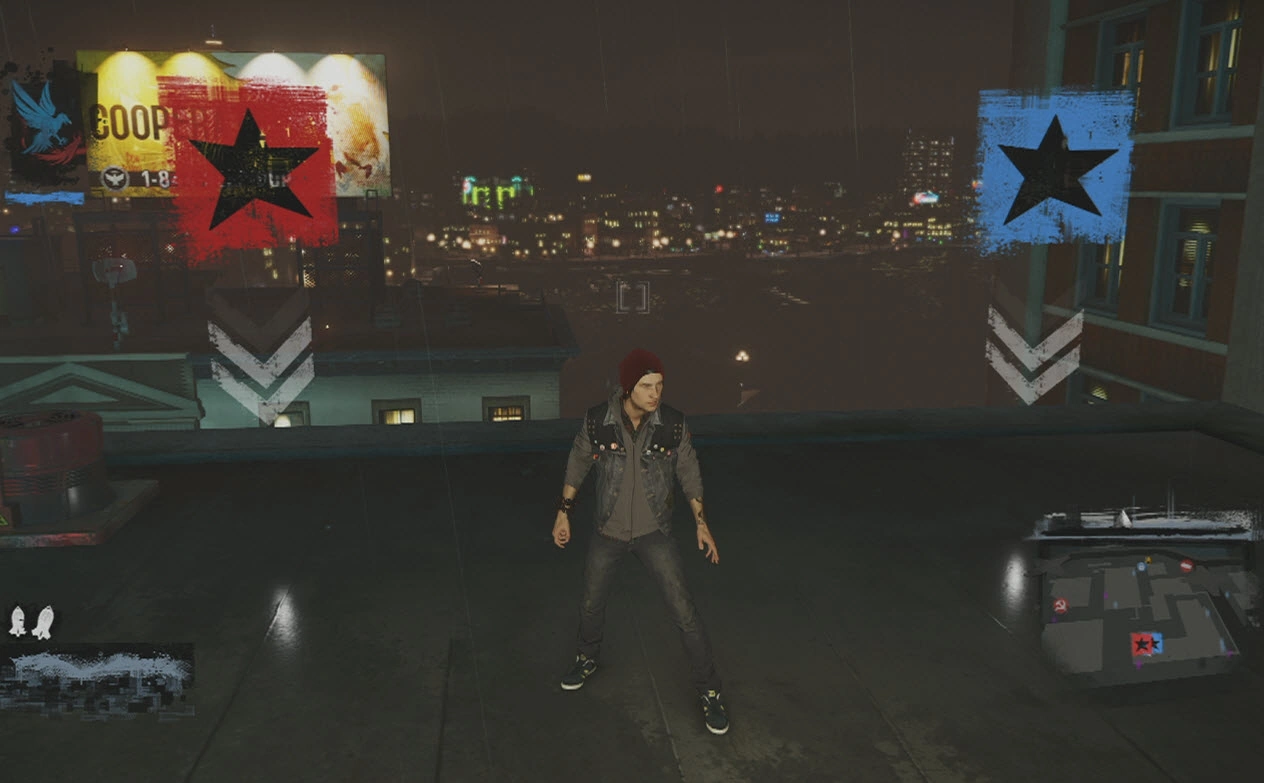
Other Karma Choices
Throughout Seattle there are Random Karma missions that Delsin can complete to gain extra Karma and ammunition for his Karma Bombs.
Good
Drug Dealers - Throughout Seattle Drug Dealers have taken hold of alleyways, hunt down and destroy the drugs, capture the Dealers alive for bonus good Karma.
Hostage - Throughout Seattle people have ganged up on the people the D.U.P. have identified as Conduits. Heal the conduit but don't harm the civilians.
Bad
Protesters - Throughout Seattle people have banded together to protest the conduit threat, kill all protesters for maximum bad Karma.
Gangsters - Gangs are hanging out in various places throughout Seattle, although they are not doing any harm, kill all gangsters for maximum bad Karma.


